Bulk Tracking Number Import
2026/03/14
How to Upload a Tracking Number File
1. Prepare a CSV file with tracking numbers
Prepare a CSV file that contains the Order ID and Tracking Number.
Two types of order identifiers are supported.
One is the Shopify order unique ID in the store admin order URL (for example: 5362976522456 in the screenshot).
Or a custom order number (for example: #1011 in the screenshot).
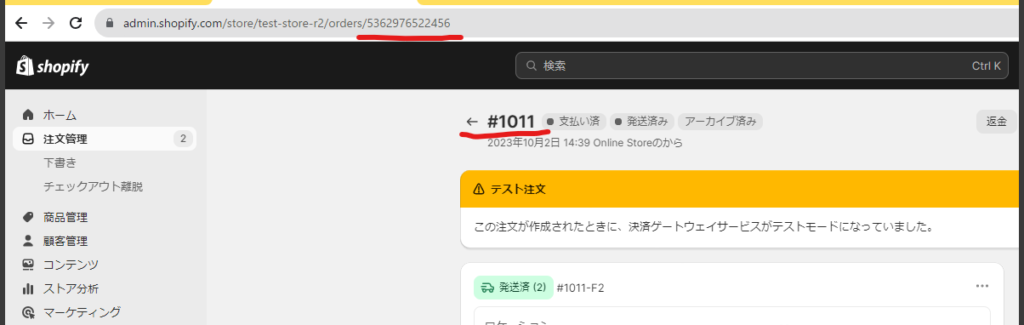
You can choose which order ID type to use in the app settings screen.

2. Specify the Order ID column and Tracking Number column
Select the columns in the CSV file that correspond to the Order ID and the Tracking Number.

3. Select the shipping carrier
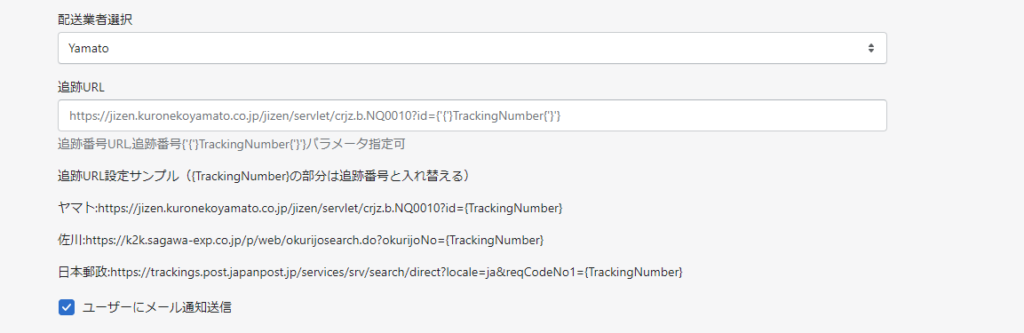
Please select the shipping carrier for the tracking numbers.
Once the carrier is specified, customers can check the delivery status from their account page or from the shipping confirmation email.
If you want to use your own tracking link, you can add a custom tracking URL.
If you want to use the default tracking URL, you can leave the field empty.
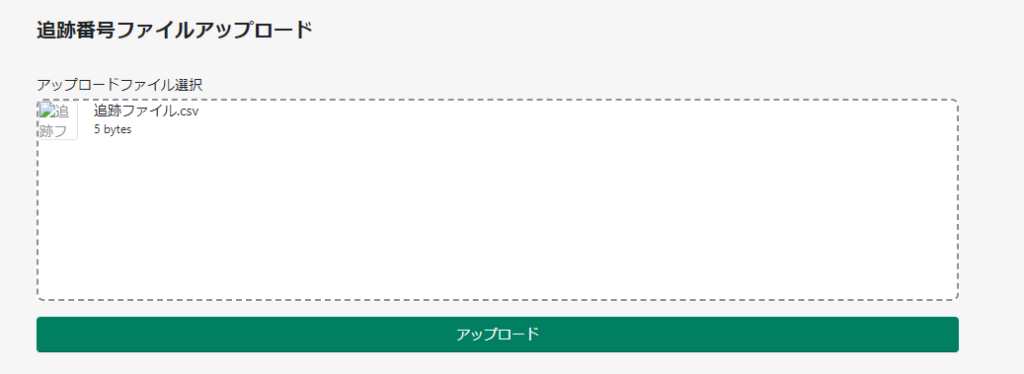
4. Upload the tracking file
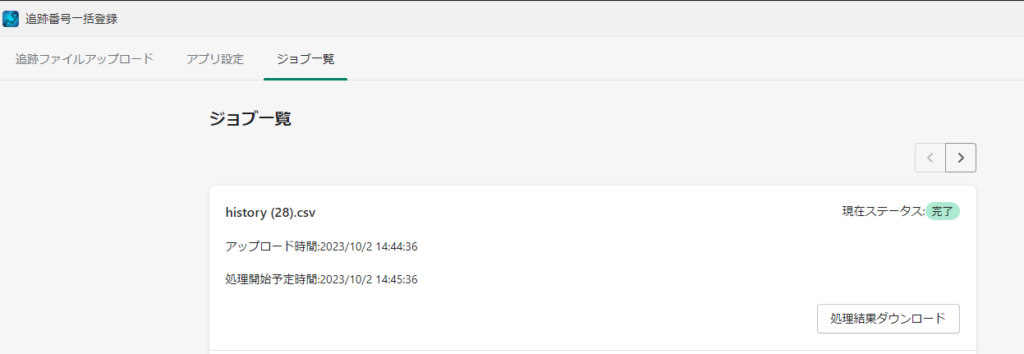
5. Check the upload results
The result of the tracking number registration can be downloaded from the job list.
Registering Multiple Tracking Numbers
If the same order number appears in multiple rows in the CSV file, multiple tracking numbers can be registered for one order.
This is useful when items in an order are shipped in multiple packages.
For example, if you upload the following CSV file, three tracking numbers (1, 2, and 3) will be registered for order #1111.
Order Number,Tracking Number
#1111,1
#1111,2
#1111,3
By listing the same order number on multiple rows, multiple tracking numbers can be registered at once.